How to Change a Flat Tire in 10 Easy Steps
Mastering the Art of Changing a Tire: A Step-by-Step Guide
Introduction: There comes a time in every driver's life when they find themselves in a predicament - a flat tire. Knowing how to change a tire is a fundamental skill that every car owner should possess. In this comprehensive guide, we will walk you through the proper way to change a tire, empowering you to handle such situations with confidence and ease. So, let's dive in and master the art of changing a tire!
Step 1: Safety First Before you start changing the tire, prioritize safety. Pull over to a safe location away from traffic, and engage your hazard lights. Apply the parking brake to prevent the vehicle from rolling. It's also advisable to place wheel chocks or blocks behind the tires to further secure the car.
Step 2: Gather the Necessary Tools Ensure that you have all the tools you'll need. Typically, these include a spare tire, lug wrench, car jack, and a vehicle owner's manual. Additionally, having a flashlight, gloves, and a mat to kneel on can be helpful.
Step 3: Loosen the Lug Nuts Using the lug wrench, loosen the lug nuts on the flat tire. Remember, "lefty loosey, righty tighty." Apply firm, steady force while turning counterclockwise, but avoid fully removing the lug nuts at this stage.
Step 4: Position the Jack Refer to your vehicle's owner's manual to locate the recommended jack points. Position the jack securely under the car, ensuring it is in contact with the designated lifting area. Be cautious not to place the jack on plastic body panels or other fragile parts that may get damaged.
Step 5: Lift the Vehicle Using the jack, start raising the car until the flat tire is approximately 6 inches off the ground. Be mindful of your surroundings and maintain a safe distance from the vehicle during this process.
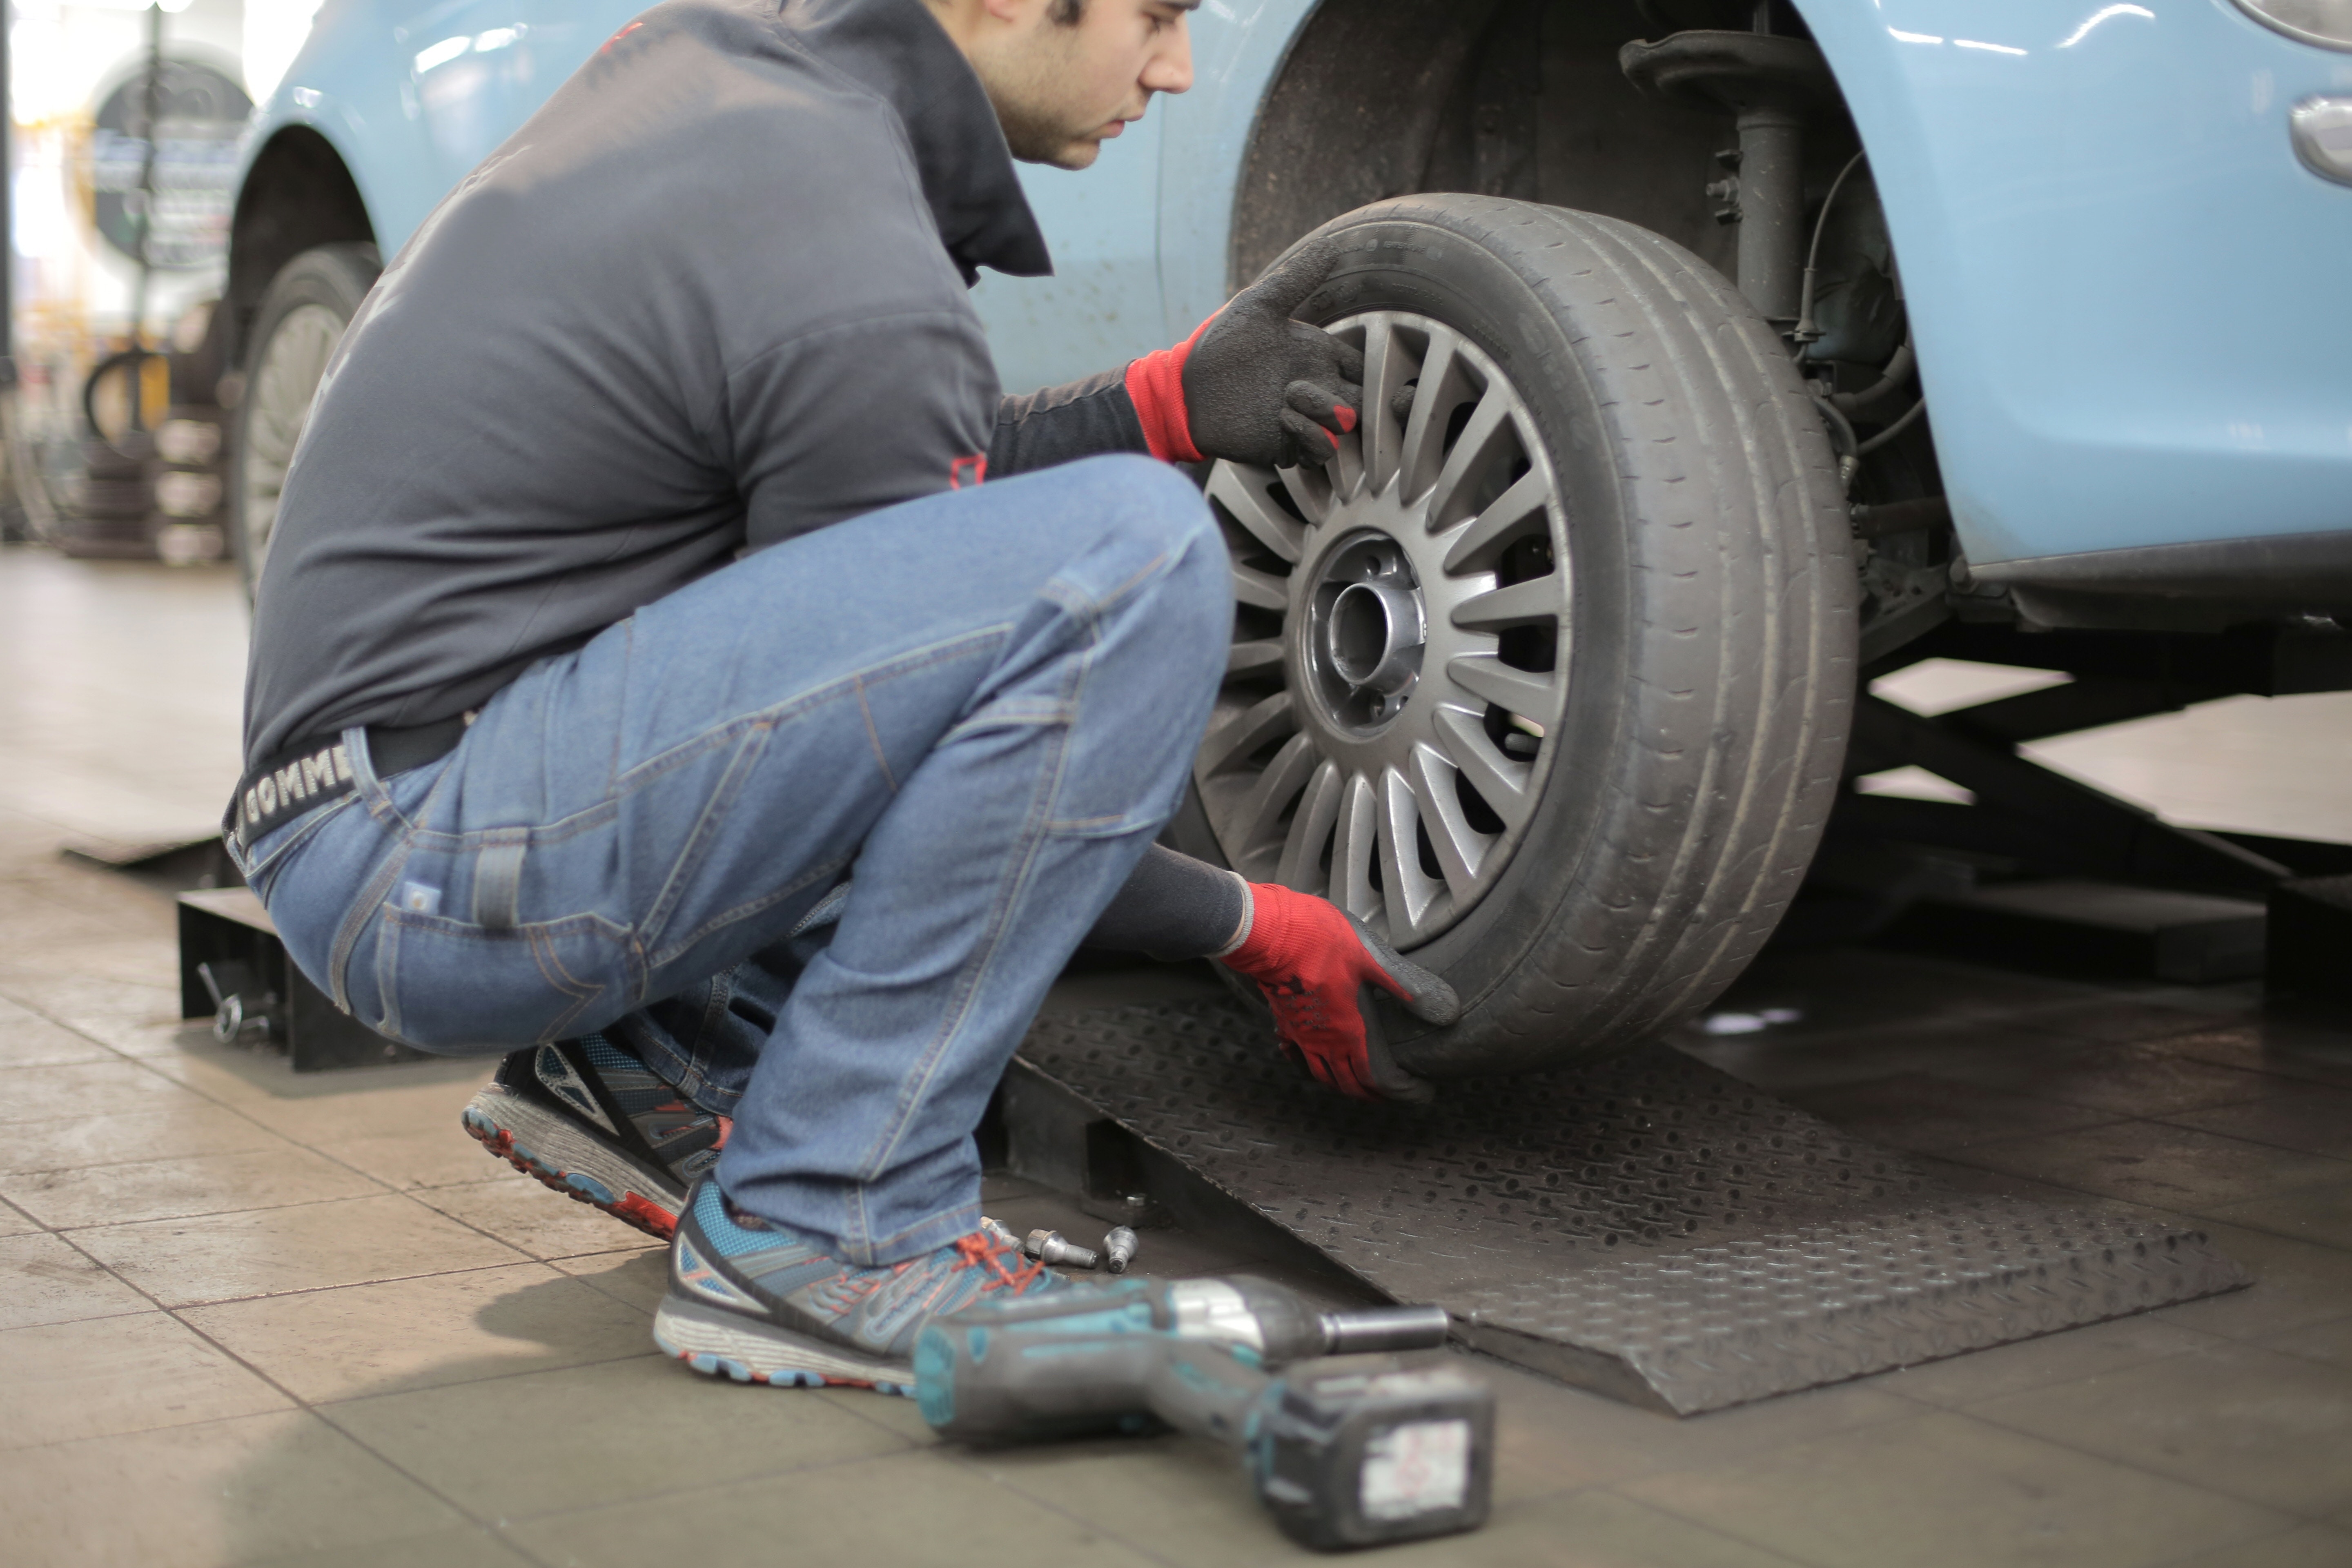
Step 6: Remove the Lug Nuts and Flat Tire Now that the vehicle is raised, it's time to completely remove the loosened lug nuts. Place them in a secure location to avoid misplacing them. Afterward, carefully slide the flat tire off the wheelbase and set it aside.
Step 7: Install the Spare Tire Retrieve the spare tire and align it with the lug bolts. Push the spare tire gently onto the wheelbase until it is snugly in place. Make sure the tire is centered properly and the valve stem is facing outwards.
Step 8: Hand-Tighten the Lug Nuts Begin by hand-tightening the lug nuts in a star or cross pattern to ensure balanced pressure. This technique helps prevent the tire from wobbling. Avoid using the lug wrench at this stage.
Step 9: Lower the Vehicle and Tighten the Lug Nuts Using the jack, gradually lower the vehicle until the spare tire touches the ground. Once the tire makes contact, you can now fully tighten the lug nuts with the lug wrench. Again, follow the star or cross pattern, applying firm pressure in a clockwise direction.
Step 10: Double-check and Cleanup After tightening the lug nuts, perform a final check. Ensure all lug nuts are securely fastened, and the spare tire is properly installed. Clean up your work area, stow away the tools, and pack the flat tire securely in your vehicle.
Congratulations! You have successfully changed a tire and conquered a potentially stressful situation with confidence. Remember, regular tire maintenance and keeping your spare tire properly inflated are essential for your safety on the road. By mastering this skill, you are well-prepared to handle unexpected flat tires and get back on your journey quickly and safely.
Changing a tire isn't for everyone, if you need someone to do it for you, they are minutes away! Just RippleQuest.com your request and within minutes someone will get in touch, who can help you. Visit RippleQuest.com today for free!


Comments
06 Sep,2019
Ipsum dolor sit amet, Ut enim ad minim veniam, quis nostrud exercitation ullamco laboris nisi ut aliquip ex ea commodo consequat.
08 Sep,2019
Lorem ipsum dolor sit amet, consectetur adipisicing elit, sed do eiusmod tempor incididunt ut labore et dolore magna aliqua. Ut enim ad minim veniam, quis nostrud exercitation ullamco laboris nisi ut aliquip ex ea commodo consequat.
09 Sep,2019
Lorem Ipsum is simply dummy text of the printing and typesetting industry. Lorem Ipsum has been the industry's standard dummy text ever since the 1500s, when an unknown printer took a galley of type and scrambled it to make a type.