How to Install a Level 2 EV Charger at Your Home
Installing a 220V level 2 charger at your home typically involves the following steps:
-
Check electrical capacity: Verify that your electrical panel has sufficient capacity to handle the additional load of a level 2 charger. Level 2 chargers generally require a dedicated 40-amp or 50-amp circuit. It's recommended to consult a licensed electrician to assess your home's electrical system and make any necessary upgrades.
-
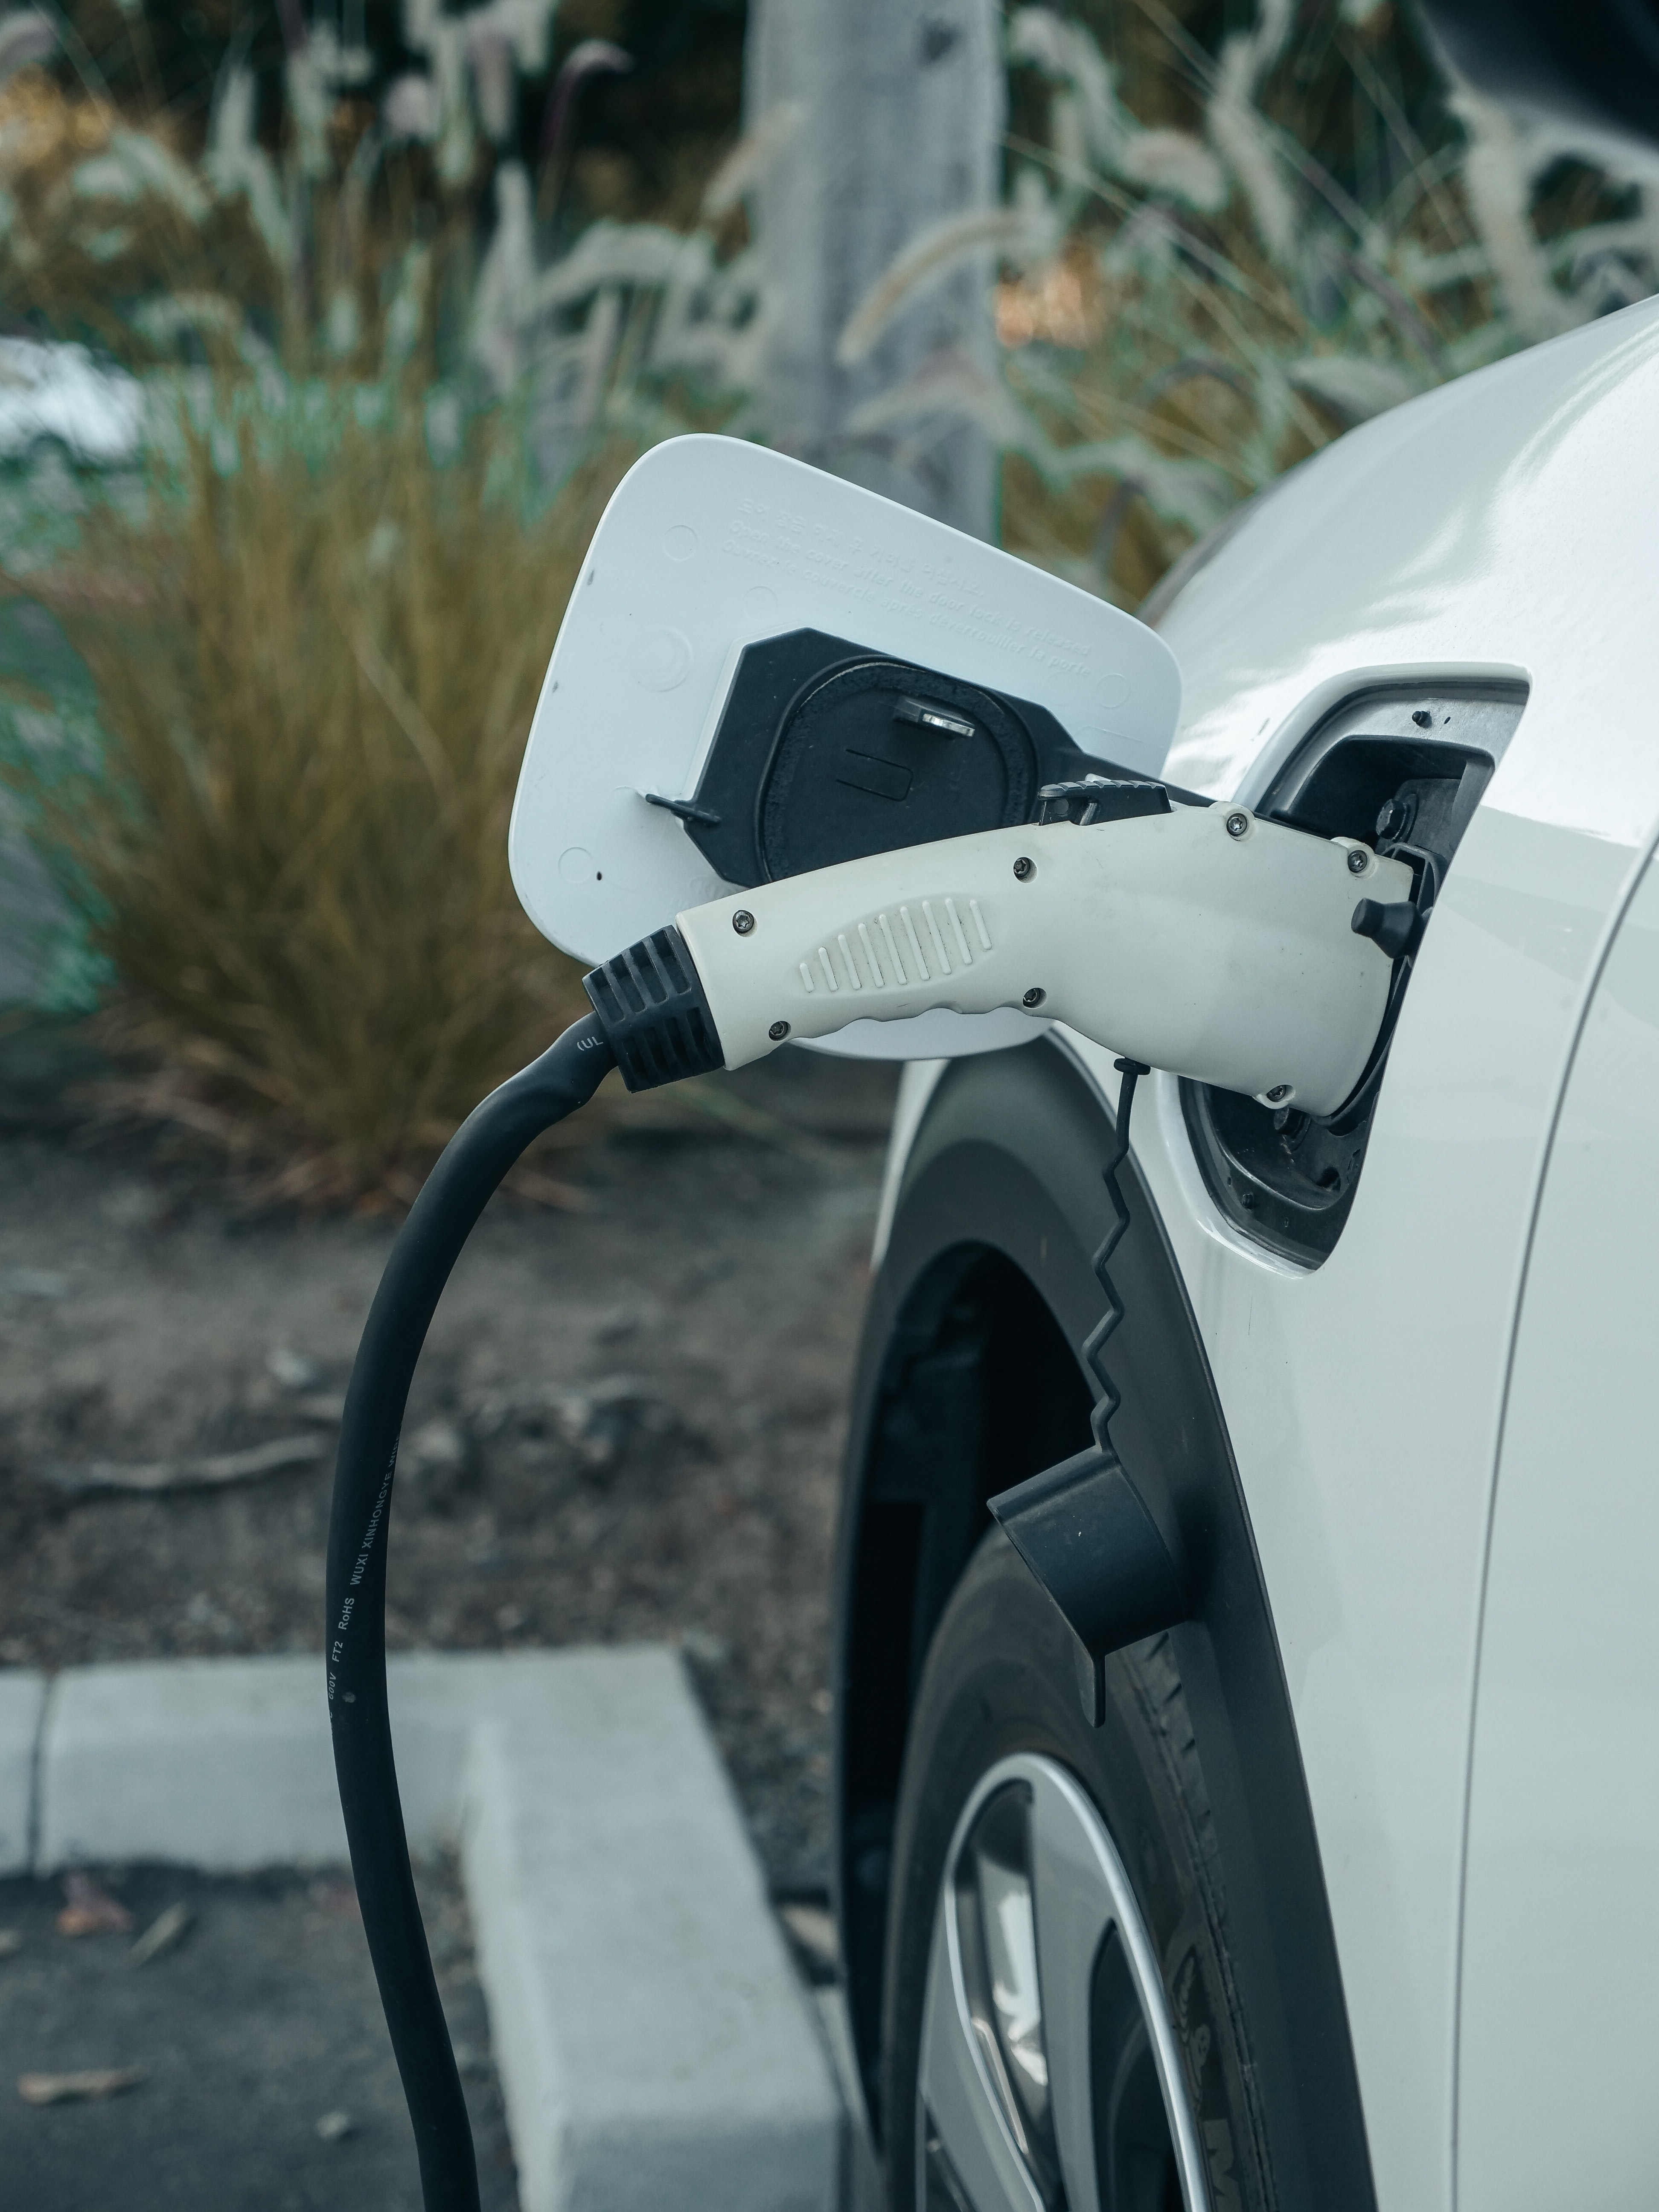
Select a charger: Research and choose a level 2 charger that suits your needs. Consider factors such as charging speed, compatibility with your electric vehicle, safety features, and user reviews. Make sure the charger is compatible with a 220V power supply.
-
Choose a location: Determine the optimal location for your charger installation. It should be close to your vehicle parking spot and accessible to the electrical panel. Consider factors such as cable length, weather protection, and any local regulations or restrictions.
-
Obtain necessary permits: Contact your local building department or municipality to inquire about permits required for installing an electric vehicle charger. Follow any guidelines or regulations they provide.
-
Hire a licensed electrician: Engage a licensed electrician experienced in EV charger installations. They will ensure the electrical work meets code requirements and is done safely.
-
Install the circuit: The electrician will install the dedicated circuit for the charger. This typically involves running new wiring from the electrical panel to the charger location and installing a suitable circuit breaker. They will follow local electrical codes and guidelines during the installation process.
-
Mount the charger: Once the circuit is installed, mount the level 2 charger on the wall or suitable structure according to the manufacturer's instructions. Ensure it is securely fastened and positioned correctly.
-
Connect the charger: The electrician will connect the charger to the dedicated circuit, ensuring proper wiring connections and following all safety protocols. They will also install a disconnect switch or breaker near the charger for added safety and maintenance convenience.
-
Test the installation: After the physical installation, the electrician will perform tests to ensure the charger is functioning correctly and safely. They may verify voltage, check for any wiring issues, and test the charger with a compatible electric vehicle.
-
Obtain necessary inspections: Depending on local regulations, you may need to schedule an inspection to ensure the installation complies with electrical codes and safety standards. Contact the appropriate authorities to request an inspection if required.
Remember, it is crucial to hire a licensed and experienced electrician for the installation to ensure safety and compliance with local regulations.
Don't want the headache of doing this yourself? Find a professional to get this done safely, visit RippleQuest.com today and find someone in minutes.


Comments
06 Sep,2019
Ipsum dolor sit amet, Ut enim ad minim veniam, quis nostrud exercitation ullamco laboris nisi ut aliquip ex ea commodo consequat.
08 Sep,2019
Lorem ipsum dolor sit amet, consectetur adipisicing elit, sed do eiusmod tempor incididunt ut labore et dolore magna aliqua. Ut enim ad minim veniam, quis nostrud exercitation ullamco laboris nisi ut aliquip ex ea commodo consequat.
09 Sep,2019
Lorem Ipsum is simply dummy text of the printing and typesetting industry. Lorem Ipsum has been the industry's standard dummy text ever since the 1500s, when an unknown printer took a galley of type and scrambled it to make a type.